Mock Servers in KeyRunner
KeyRunner supports Mock Servers, allowing teams to simulate API endpoints without needing a real backend. This is especially useful during early development, local testing, and contract-first workflows but designed with a local-first, privacy-first philosophy.
KeyRunner Mock Server Documentation
Overview
The Mock Server feature lets you simulate API endpoints and return pre-defined responses — without needing a live backend. This is useful for:
- Frontend development when the backend API isn't ready yet
- Testing edge cases like error responses, timeouts, or unusual payloads
- Team collaboration where different teams can work independently against a stable contract
- Demos and prototyping without deploying real infrastructure
Each mock server is backed by a KeyRunner collection. Requests in that collection define the routes and their expected responses. When a caller hits the mock server URL, KeyRunner matches the incoming request to the best-matching entry in the collection and returns that entry's configured response.
Table of Contents
- Creating a Mock Server
- Adding Routes (Requests and Examples)
- How Request Matching Works
- Sending Requests to Your Mock Server
- Publishing a Mock Server to the Cloud
- Token Management
- Unpublishing a Mock Server
- Managing Mock Servers (Rename, Delete)
- Workspace Requirements and Permissions
- Troubleshooting
1. Creating a Mock Server
Mock servers are accessible from the Mock Servers section in the left navigation panel.
Option A: Create with a New Collection
Use this when you are starting fresh and want KeyRunner to create a new collection alongside the mock server.
- Click on Mock Servers in the left panel.
- Click + New Mock Server (or the add button) to open the creation view.
- Select the Create New Collection tab.
- Enter a Server Name.
- Click Create Mock Server.
KeyRunner will:
- Create a new empty collection with the same name.
- Generate a unique mock server URL (e.g.,
https://550e8400-e29b-41d4-a716-446655440000.mock.keyrunner.app). - Link the mock server to that collection.
Option B: Use an Existing Collection
Use this when you already have a collection with requests and want to expose them as a mock server.
- Click on Mock Servers in the left panel.
- Click + New Mock Server to open the creation view.
- Select the Use Existing Collection tab.
- Enter a Server Name.
- Select a collection from the list using the radio buttons. Nested collections are shown with their full path (e.g.,
Parent Collection > Child Collection). - Click Create Mock Server.
2. Adding Routes (Requests and Examples)
A mock server's routes are defined by the requests inside its linked collection. Each request represents one route, and each example on that request defines a possible response.
Step 1: Add a Request to the Collection
Open the linked collection and create a request as you normally would:
- Set the HTTP method (GET, POST, PUT, DELETE, etc.)
- Set the URL path — use the mock server's base URL followed by your desired path, e.g.:
https://550e8400.mock.keyrunner.app/users/{{id}} - Optionally configure query parameters, headers, and a request body to use for more precise example-level matching (see How Request Matching Works).
Step 2: Add an Example with an Expected Response
Each request needs at least one example that defines what the mock server will return.
- Open the request.
- Navigate to the Examples tab.
- Click Add Example.
- Set the expected response status code (e.g.,
200,404,500). - Set the expected response headers (e.g.,
Content-Type: application/json). - Write the expected response body:json
{ "id": 1, "name": "Alice", "email": "alice@example.com" } - Save the example.
You can add multiple examples to a single request to simulate different scenarios — for example, a 200 OK for a valid user ID and a 404 Not Found for an invalid one. KeyRunner will select the best-matching example based on the incoming query parameters, body, and headers (see How Request Matching Works).
Response Delay (Latency Simulation)
To simulate network latency, set a delay field (in milliseconds) on an example's expected response. KeyRunner will wait that long before returning the response.
3. How Request Matching Works
When a request arrives at the mock server URL, KeyRunner uses a two-level matching algorithm to find the best response.
Level 1: Route Matching (Request Level)
KeyRunner first finds which request in the collection matches the incoming request. At this level:
- HTTP method must match exactly (e.g.,
GETvsPOSTare never interchangeable). - URL path must match exactly (100% threshold required).
- Query parameters, body, and headers are not considered at this level.
If no route is found, the mock server returns 404 – Request not found.
Level 2: Example Selection (Example Level)
If the matched request has multiple examples, KeyRunner selects the best one by scoring across:
| Component | Considered |
|---|---|
| URL path | Yes |
| Query parameters | Yes (order-independent) |
| Request body | Yes (partial match) |
| Request headers | Yes (partial match) |
The example with the highest overall score (minimum 50%) is selected. If no example meets the threshold, KeyRunner falls back to the first example in the list.
Path Parameter Support
Routes support dynamic path segments using any of these patterns:
| Pattern | Example | Matches |
|---|---|---|
:param | /users/:id | /users/42, /users/abc |
{param} | /users/{id} | /users/42, /users/abc |
| /users/ | Any value (treated as wildcard) |
* | /files/(*)/download | /files/report/download |
Environment Variable Patterns as Wildcards
If a route URL in the collection contains an unresolved environment variable (e.g., /users), the variable part is treated as a wildcard — any actual value will match it. This allows you to write routes that work independently of which environment is active.
Body Matching (Partial)
Body matching uses partial matching: all fields defined in the example's request body must exist in the incoming request body with matching values. The incoming request may contain extra fields — those are ignored.
// Example request body in collection:
{ "type": "admin" }

// Incoming request body:
{ "type": "admin", "name": "Alice", "email": "alice@example.com" }

// Result: MATCH ✓ (extra fields are ignored)
4. Sending Requests to Your Mock Server
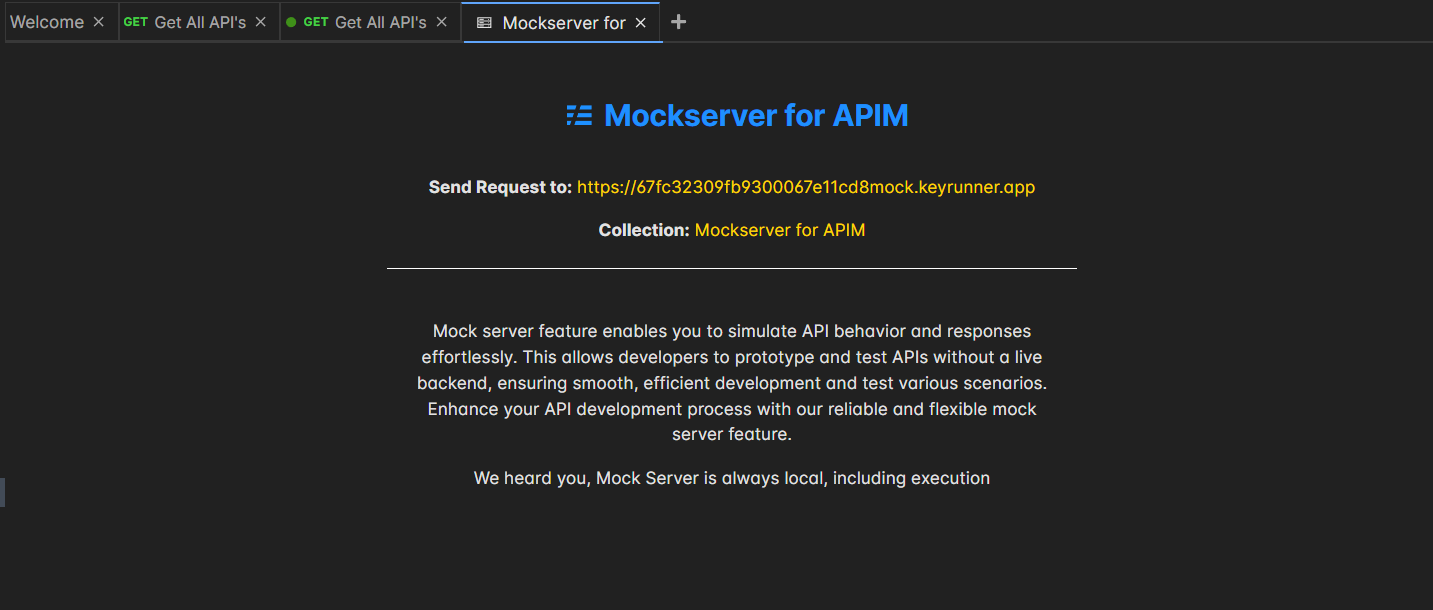
Getting the Mock Server URL
- Click on a mock server in the left panel to open its detail view.
- Find the "Send Request to:" field showing the full base URL (e.g.,
https://550e8400.mock.keyrunner.app). - Click the copy icon next to the URL to copy it to the clipboard.
Making a Request
Append your route path to the base URL and send it like any normal HTTP request — from KeyRunner itself, curl, Postman, your frontend app, or any HTTP client:
# Example: GET a user
curl https://550e8400.mock.keyrunner.app/users/1

# Example: POST with a body
curl -X POST https://550e8400.mock.keyrunner.app/users \
  -H "Content-Type: application/json" \
  -d '{"name": "Bob"}'
For published mock servers, you must include an Authorization token in the request header (see Token Management).
5. Publishing a Mock Server to the Cloud
By default, a mock server is local — it only works when KeyRunner is running on your machine. Publishing makes it publicly accessible over the internet via its URL, without needing KeyRunner to be open.
Publishing is only available in Private and Project workspaces. It is not available in Local workspaces.
How to Publish
- Open the mock server from the sidebar.
- In the detail view, find the Publish to Cloud section.
- Click the Publish button.
Once published:
- The status banner changes to "Published to Cloud" with a green checkmark.
- The sidebar icon changes to a green cloud icon to visually distinguish published servers.
- An Access Token is displayed — copy it immediately (see note below).
- The Token Management button becomes available for managing additional tokens.
Important: The initial access token shown after publishing is only visible once. Copy it before closing the panel.
6. Token Management
Published mock servers require callers to include a valid access token. KeyRunner uses token-based authentication to control who can call your published mock server.
Including a Token in a Request
Pass the token in the Authorization header of every request to the published mock server:
curl https://550e8400.mock.keyrunner.app/users/1 \
  -H "Authorization: <your-token>"
Opening Token Management
- Open a published mock server from the sidebar.
- Click the Token Management button (key icon).
The Token Management dialog shows a table of all tokens for the mock server with:
| Column | Description |
|---|---|
| Token | A masked prefix of the token (e.g., abc12345...) |
| Description | The label you gave the token when creating it |
| Created | Date and time the token was created |
| Expires | Date and time the token expires |
| Usage | A progress bar showing used / max requests |
| Status | Active, Expired, or Deactivated |
Creating a New Token
- In the Token Management dialog, click Create New Token.
- Fill in the form:
| Field | Description | Default |
|---|---|---|
| Description | A label to identify this token's purpose (required) | — |
| Expires In (days) | How many days until the token expires (1–365) | 30 |
| Max Usage Count | Maximum number of requests this token can authenticate (1–1,000,000) | 1000 |
- Click Create Token.
- A dialog appears showing the full token value.
Important: The full token value is only shown at creation time. Copy it immediately — it cannot be retrieved again. Only the first 8 characters (prefix) are stored and shown in the table afterward.
Token Lifecycle
| Status | Meaning |
|---|---|
| Active | Token is valid and can authenticate requests |
| Expired | The expiry date has passed; requests using this token will be rejected |
| Deactivated | Manually disabled; requests using this token will be rejected |
Usage bar turns red when a token has consumed more than 80% of its maximum usage count, signaling it is approaching its limit.
Deactivating a Token
If a token is compromised or no longer needed but you want to keep the record:
- In the Token Management table, click the Deactivate button (block icon) on an Active token.
- Confirm the action in the dialog.
The token becomes Deactivated immediately and can no longer authenticate requests.
Deleting a Token
To permanently remove a token record:
- In the Token Management table, click the Delete button (trash icon).
- Confirm the action. This cannot be undone.
7. Unpublishing a Mock Server
Unpublishing takes a mock server offline — it will no longer respond to requests from the internet until republished.
- Open the published mock server from the sidebar.
- In the detail view, click the Unpublish button (shown in the Published status banner).
- The status reverts to unpublished and the cloud icon is removed from the sidebar.
Note: Unpublishing does not delete the mock server, its collection, its routes, or its tokens. All data is preserved and the server can be republished at any time.
8. Managing Mock Servers (Rename, Delete)
Renaming
Right-click (or hover to reveal the context menu) on a mock server in the sidebar and select Rename. Enter the new name and press Enter to save.
Deleting
Right-click on a mock server in the sidebar and select Delete.
Note: Deleting a mock server removes the mock server entry but does not delete the linked collection or its requests. Your API definitions remain intact in the collection.
9. Workspace Requirements and Permissions
| Feature | Local Workspace | Private / Project Workspace |
|---|---|---|
| Create mock server | Yes | Yes |
| Send requests locally | Yes | Yes |
| Publish to cloud | No | Yes (ADMIN role required) |
| Unpublish | No | Yes (ADMIN role required) |
| Token management | No | Yes (ADMIN role required) |
| Create additional tokens | No | Yes (ADMIN role required) |
Publishing, unpublishing, and token management are only available to workspace members with the ADMIN role in Private and Project workspace types.
10. Troubleshooting
404 – Request not found
The incoming path and method did not match any request in the linked collection. Things to check:
- Verify the path in your request exactly matches the path defined in the collection (case-sensitive, including leading
/). - Verify the HTTP method matches (e.g.,
GETvsPOST). - Open the collection and confirm the request is saved under the correct mock server's linked collection.
404 – Add a request to the collection
The linked collection exists but has no requests in it. Add at least one request with an example to define a route.
404 – Add an example for this mock request
A route was matched but the request has no examples. Open the matching request in the collection and add at least one example with an expected response.
Correct route exists but wrong response is returned
When multiple examples exist on a request, the best-matching one is selected. If the wrong example is being returned:
- Review the query parameters, request body, and headers defined on each example.
- The example with the highest match score is selected. Add more specific matching criteria (body fields, query params) to the correct example to give it a higher score.
- If no example reaches the 50% match threshold, KeyRunner falls back to the first example. Reorder your examples so the most general one is first.
Published mock server returns 401 Unauthorized
The request is missing a valid Authorization token. Include your access token in the request header:
Authorization: <your-token>If you have lost the token, create a new one via Token Management on the mock server detail page.
Token shows Expired status
The token's expiry date has passed. Create a new token in Token Management and update all callers to use the new token.
Publishing mock servers is only available for private and project workspaces
Switch to a Private or Project workspace before attempting to publish. Local workspaces do not support cloud publishing.