Schedulers (Monitoring - Health Checks or Collections or Request Flows)
Overview
Schedulers allow you to automate the execution of request flows and health checks, ensuring that your APIs and systems are running smoothly. This section provides details on creating and managing schedulers for monitoring purposes.
Creating a Request Flow or Health Check
To create a request flow or health check:
Create a Flow:
- Define the required nodes (requests) and save them as a flow.
- These flows can then be selected from the request flow dropdown for scheduled execution.
Health Check:
- Typically involves a single URL or node.
- Used to verify the health status of an endpoint.
Setting Up a Scheduler
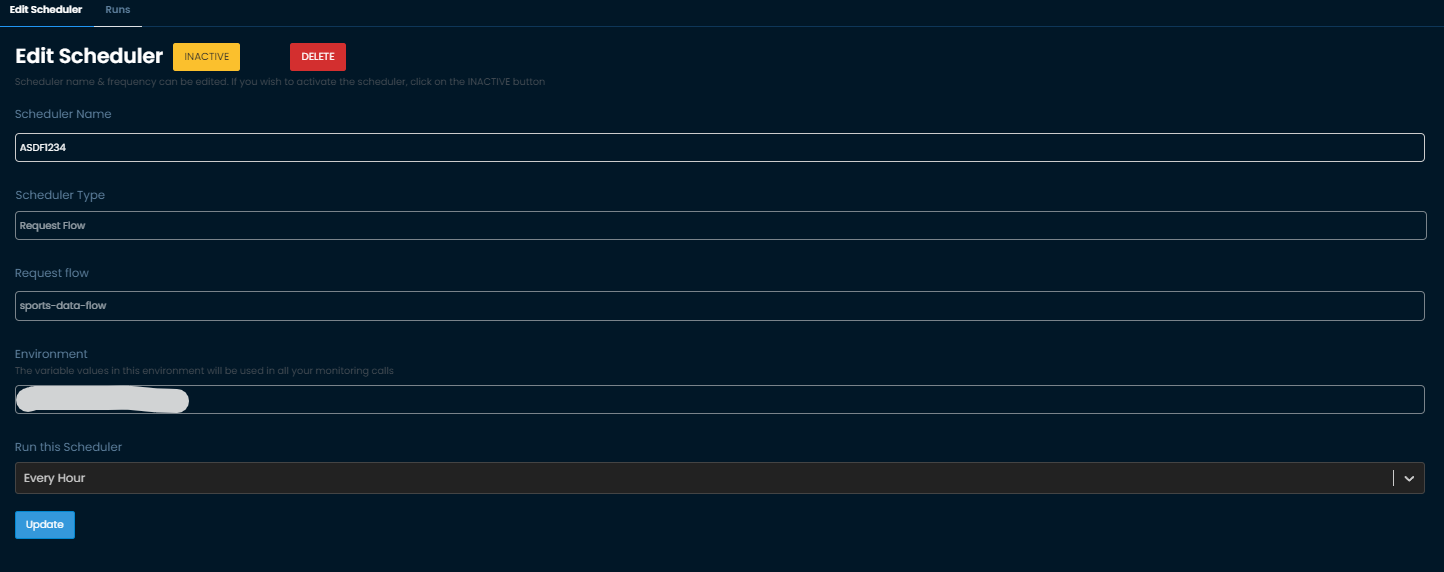
Schedulers run periodically and execute all the requests within the flow, notifying you with test results. The following details need to be captured for setting up a scheduler:
1. Scheduler Name
- Description: The name of the scheduler.
- Purpose: Helps identify and manage the scheduler.
2. Scheduler Type
- Description: The type of scheduler, defining its purpose (e.g., health check or request flow execution).
- Options:
- Health Check: For monitoring the health of a single URL or node.
- Request Flow: For executing a sequence of requests defined in a flow.
3. Request Flow
- Description: The request flow to be executed by the scheduler.
- Options: Select the appropriate flow from the dropdown list.
4. Environment
- Description: The environment in which the scheduler will run.
- Purpose: The variable values in this environment will be used in all monitoring calls.
- Options: Select the appropriate environment from the dropdown list.
5. Run this Scheduler
- Description: Define the frequency at which the scheduler will run.
- Options:
- Every Minute
- Custom intervals as per your requirement.
Scheduler Management
1. Active
- Description: An active scheduler is currently running and executing the defined request flow or health check at the specified intervals.
- How to Use: Ensure your scheduler is active to monitor your endpoints or flows continuously.
2. Inactive
- Description: An inactive scheduler is paused and does not execute the defined request flow or health check.
- How to Use: Set a scheduler to inactive if you need to temporarily stop monitoring without deleting the scheduler configuration.
3. Delete
- Description: Deleting a scheduler removes it permanently from the system.
- How to Use: Use this option to remove obsolete or unnecessary schedulers. This action is irreversible, so ensure you no longer need the scheduler before deletion.
Example Configuration
Here's an example configuration for setting up a scheduler:
plaintext
Scheduler Name: API Health Check
Scheduler Type: Health Check
Request Flow: Health Check Flow
Environment: Production Environment
Run this Scheduler: Every Minute